

Key Takeaways
- Not all shade is equal - dry shade under trees is far more challenging than moist, open shade.
- Amending soil and improving drainage before planting dramatically increases success rates in shaded beds.
- Many native ferns, hostas, and woodland perennials thrive with little direct sun.
- Mulching shaded beds retains moisture and suppresses weeds, reducing ongoing maintenance significantly.
- Patience matters - shade-tolerant plants often establish slowly but reward with years of resilience.
What you will need
Why Shade Gardening Requires a Different Approach
Most gardening advice assumes reasonable access to sunlight - at least six hours per day. Shaded spots operate under fundamentally different rules. Photosynthesis is slower, soil stays cooler and wetter (or drier, beneath dense tree canopies), and competition from tree roots can starve plants of both moisture and nutrients before they have a chance to establish.
The good news: working with shade rather than against it produces some of the most elegant, low-fuss garden spaces possible. Shade-tolerant plants are often naturally adapted to forested understory conditions, meaning they've evolved to compete efficiently for limited resources. Once established, many require far less intervention than sun-loving annuals or vegetables. This is a fundamentally different goal than, say, starting a vegetable garden, which demands maximum light and intensive soil management.
Understanding the type of shade you're working with - and preparing accordingly - is the single biggest lever you can pull before selecting a single plant.
Observe Before You Plant
Spend one full growing season tracking how much light a shaded area actually receives at different times of day. A spot that looks dark in the morning may receive several hours of afternoon sun - enough to support a wider range of plants than you'd expect.
What You'll Need Before You Start
Shade gardening success depends as much on preparation as plant selection. Gather your materials and assess your site carefully before investing in plants.
What you will need
Garden fork or hand cultivator
Loosens compacted soil in shaded beds without deeply disturbing tree roots.
Compost or leaf mold
Improves soil structure and adds organic matter that shade-tolerant plants rely on.
Organic mulch (shredded bark or leaves)
Retains moisture, regulates soil temperature, and suppresses weeds in low-light beds.
Soil moisture meter
Helps avoid overwatering in shaded areas where evaporation rates are much lower.
Slow-release granular fertilizer (low nitrogen)
Feeds shade plants without pushing excessive leafy growth that weakens them indoors.
Step-by-Step: Turning a Shaded Problem Spot Into a Thriving Bed
Follow these steps in order. Skipping the soil preparation phase - which many gardeners do out of eagerness to plant - is the most common reason shaded beds underperform.
Do Not Disturb Large Tree Roots
When amending soil beneath mature trees, avoid deep digging that can damage surface feeder roots. Cutting major roots can stress or destabilize the tree and may create a safety hazard. Work amendments into the top two to three inches of soil, or layer new soil on top rather than digging it in.
Assess the Type and Depth of Shade
Before selecting any plants, spend time observing the shaded area across different times of day and seasons. Note whether it receives deep shade (fewer than 2 hours of sun), partial shade (2-4 hours), or dappled shade (filtered light through a tree canopy all day). Also determine whether the shade is dry - common beneath shallow-rooted trees like maples - or moist, typical of north-facing beds with no overhead canopy.
This distinction matters more than almost any other factor. Dry shade is one of the hardest gardening conditions to work with; moist shade opens up a much wider plant palette.
Test and Amend the Soil
Shaded areas - especially under established trees - often have compacted, nutrient-depleted soil due to root competition. Use a hand cultivator to gently loosen the top two to three inches without cutting deep into the root zone. Work in a two-inch layer of compost or leaf mold to improve structure and moisture retention.
If the soil is heavily clay or drains poorly, consider raising the bed by layering additional amended soil on top rather than digging down. This avoids disturbing tree roots and gives your new plants a healthier start.
Select Plants Suited to Your Shade Conditions
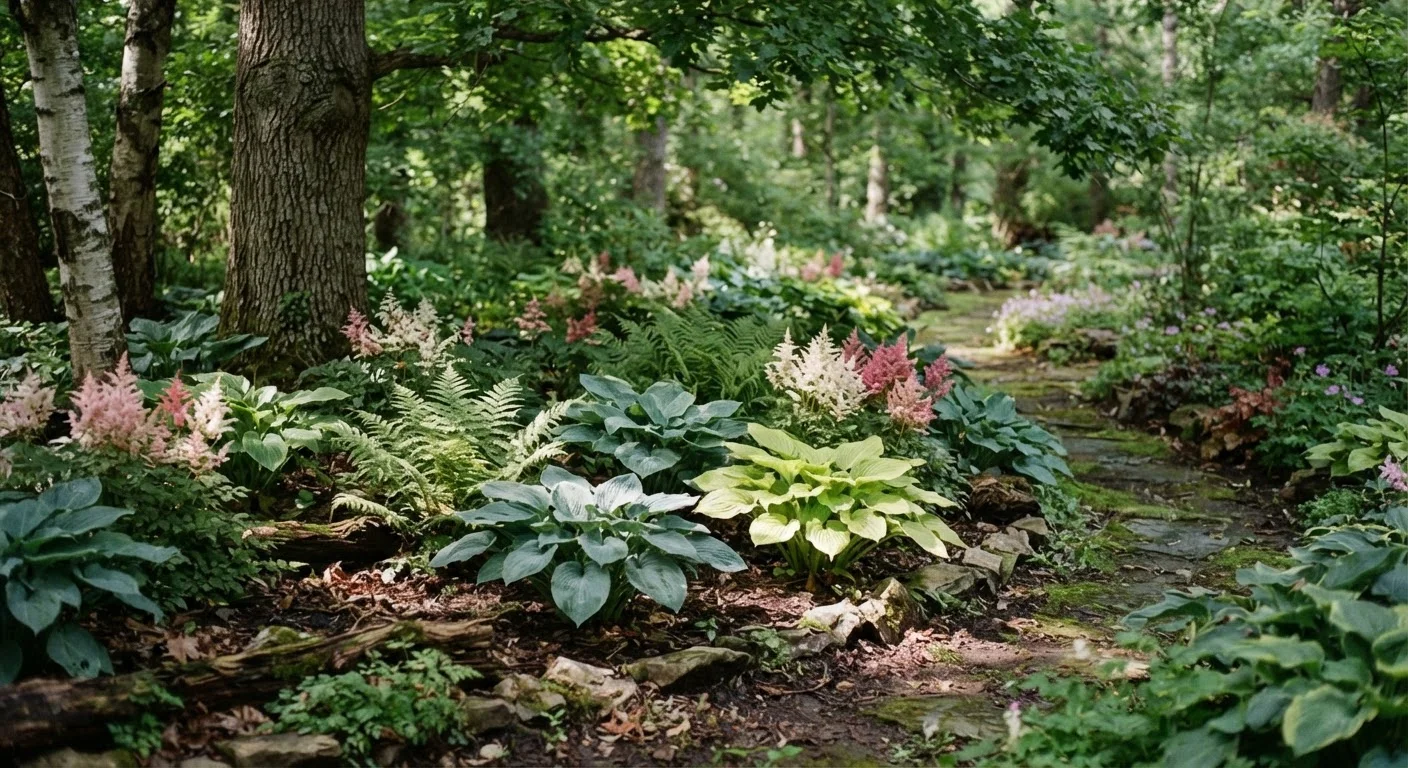
Match plants to your specific conditions rather than hoping shade-tolerant varieties will adapt to the wrong type of shade. For dry shade, consider: epimedium (barrenwort), liriope, pachysandra, and native wild ginger. For moist shade: hostas, astilbe, Japanese forest grass, bleeding heart, and most native ferns perform well.
Ferns deserve special mention - many North American natives such as ostrich fern, cinnamon fern, and Christmas fern are not only shade-tolerant but deer-resistant and long-lived. For more on the broader benefits of region-adapted plants, see native plants and why they thrive where others struggle.
Plant at the Right Depth and Spacing
Dig each planting hole just deep enough to match the root ball - no deeper. In shade gardens, planting too deep is a common cause of failure, as crowns buried below grade can rot in low-evaporation conditions. Space plants generously: most shade perennials spread slowly but eventually fill in, and crowding them early increases disease pressure.
For areas with significant tree root competition, plant in the gaps between major roots rather than forcing plants into areas of dense root mass.
Mulch the Bed Thoroughly
Apply two to three inches of organic mulch - shredded bark, wood chips, or shredded leaves - across the entire bed, keeping it a few inches away from plant crowns and tree trunks. Mulch is especially valuable in shaded beds because it slows the already-reduced evaporation further, reduces the impact of tree root competition for moisture, and suppresses weeds that would otherwise take hold in bare soil.
For a deeper look at how mulch functions across different garden situations, this guide to mulch covers types and application in detail.
Establish a Watering Routine and Monitor Progress
Water newly planted shade beds thoroughly at planting, then check soil moisture every few days during the first growing season. Shaded areas dry out more slowly, so you'll likely water far less frequently than sunny beds. After the first season, most well-chosen shade plants require minimal supplemental watering except during extended droughts.
Be patient: many shade perennials follow the gardening adage - "first year sleeps, second year creeps, third year leaps." Visible growth may be modest initially while the plant invests energy into root development below the surface.
Maintaining and Evolving Your Shade Garden
Once established, shade gardens are among the most forgiving in the landscape. Primary annual tasks include refreshing mulch each spring, removing winter-damaged foliage before new growth emerges, and dividing overcrowded clumps every three to five years to reinvigorate plants.
If shrubby plants begin to crowd smaller perennials, selective pruning can open up space without removing mature plants entirely. Understanding when and how to prune is its own skill - the common pruning mistakes guide covers timing and technique in useful detail.
As your shade garden matures, it may inspire you to rethink how other parts of your yard are organized. Integrating low-maintenance shaded areas into a broader outdoor design is covered in depth in this piece on designing an outdoor space around your actual lifestyle.
Shaded spots that once felt like liabilities - bare, compacted, and depressing - can become defining features of a well-considered yard. The key is accepting the conditions, not fighting them.