

Key Takeaways
- A move-in inspection protects your security deposit by documenting pre-existing damage before you're held responsible.
- Photograph and timestamp every room, fixture, and appliance on the day you receive the keys.
- Submit your completed checklist to your landlord in writing and keep a copy for your own records.
- Many states legally require landlords to provide a move-in condition form - check your state's tenant rights laws.
- Minor issues noted at move-in cannot lawfully be charged back to you at move-out.
Summary
28 items · 30-60 minutes
Why a Move-In Inspection Matters
Security deposits - typically one to two months' rent - represent a significant sum of money. Without a written record of your unit's condition on day one, you may have little defense if a landlord later attributes pre-existing damage to you. A thorough move-in inspection creates a timestamped paper trail that protects both parties.
According to many state landlord-tenant statutes, renters have the right to a written accounting of any deductions when a deposit is withheld. That accounting is far easier to dispute when you have documented proof of the unit's condition at move-in. For a broader understanding of how deposits are regulated, see our guide on how security deposits work and what landlords can legally deduct.
This checklist is designed to walk you through every area of a typical rental unit systematically. Complete it before you unpack a single box - ideally on the same day you receive your keys.
Complete the Checklist Before Moving Anything In
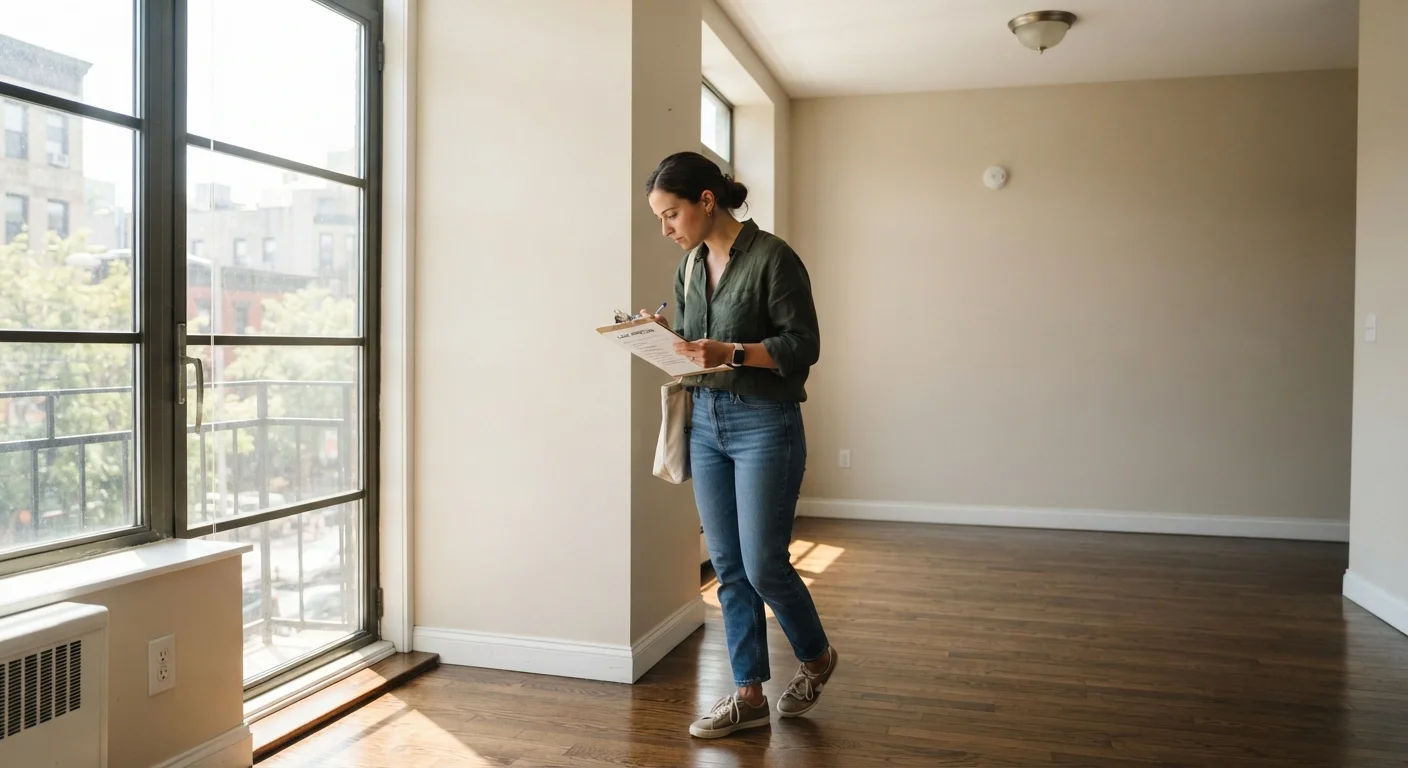
Once furniture, boxes, or personal belongings enter the unit, it becomes far harder to prove which marks or damage were pre-existing. Walk through every room with your checklist and camera before you move a single item inside. If your landlord is present, ask them to co-sign the completed form - their signature is strong evidence that the documented conditions were acknowledged.
What to Bring and How to Document
Effective documentation doesn't require special equipment, but a little preparation makes the process much more defensible.
Smartphone or digital camera
Capture timestamped photos and short video walkthroughs of every room and noted defect.
Move-in inspection form
Provides a structured, room-by-room written record that both you and your landlord can sign.
Flashlight or phone torch
Illuminates dark closets, under-sink areas, and corners where damage is easy to miss.
Outlet tester
Quickly checks whether electrical outlets are functional and correctly wired.
Cloud storage or email account
Stores your photos and checklist in a date-stamped, easily retrievable format for future reference.
As you work through each room, photograph defects from multiple angles in good lighting. Note the date and time on every photo - most smartphone cameras do this automatically in file metadata. Write descriptions that are specific: "2-inch crack in bathroom tile, lower left corner, adjacent to toilet" is far more useful than "bathroom has some damage."
Once complete, email the checklist and photos to your landlord so you have a time-stamped digital record of delivery. If you use a paper form, send it via certified mail and keep a copy. If you're new to renting and want more context before signing your lease, our first-time renter's guide covers the full process from application to move-in.
Preparation
Walls, Ceilings & Floors
Kitchen
Bathrooms
Doors, Windows & Locks
Electrical, Plumbing & Safety
After You Submit the Checklist
Submitting the checklist is only the first step. Store your copy - including all photos - somewhere you can access it easily when you move out, even if that's two or three years from now. A cloud storage folder works well for this purpose.
If your landlord disagrees with items you've noted, request a written response. Any pre-existing conditions your landlord acknowledges in writing further strengthens your position. Should disputes arise at move-out, understanding why renters commonly lose their deposits can help you identify whether a deduction is legitimate or worth challenging.
Don't Rely on a Verbal Agreement
A landlord verbally promising to fix something before or after move-in is not a binding commitment in most jurisdictions. Any agreed repairs should be documented in writing - either in the lease addendum or in a separate signed statement. Without written acknowledgment, you may be charged for the same issue when you vacate.
This article is for general informational purposes only and does not constitute legal advice. Tenant rights and landlord obligations vary by state and locality. Consult a local tenant rights organization or licensed attorney for guidance specific to your situation.