

Key Takeaways
- A healthy compost pile needs a balance of carbon-rich 'browns' and nitrogen-rich 'greens' to decompose properly.
- Moisture, aeration, and particle size are the three variables most homeowners overlook when troubleshooting a stalled pile.
- Most kitchen scraps - except meat, dairy, and oily foods - are safe and beneficial additions to a home compost bin.
- Finished compost can be ready in as little as two months with active management, or several months if left to decompose passively.
- Compost improves soil structure, water retention, and beneficial microbial activity across all garden types.
What you will need
Why Composting Is Worth the Effort
Every year, the average American household discards a significant amount of organic waste - fruit peels, coffee grounds, eggshells, and wilted greens - that could instead be feeding a garden. Composting is the practice of allowing organic material to break down into a dark, crumbly soil amendment called humus, which improves soil structure, feeds beneficial microbes, and reduces the need for synthetic fertilizers.
Beyond the garden benefits, composting reduces the volume of waste going to landfills, where organic material decomposes anaerobically and produces methane. Starting a pile at home is one of the more tangible ways a household can reduce its environmental footprint while actively improving its outdoor spaces.
If you're working toward a productive vegetable plot, pairing compost with good planning makes a measurable difference - see our beginner's guide to starting a vegetable garden for soil preparation advice that complements what compost can do.
What you will need
What Goes In - and What Stays Out
A successful compost pile is built on the right ratio of two material types:
- Browns (carbon-rich): Dry leaves, cardboard torn into small pieces, paper bags, straw, wood chips, and newspaper. These provide structure and prevent the pile from becoming a soggy, smelly mess.
- Greens (nitrogen-rich): Vegetable and fruit scraps, coffee grounds and filters, tea bags (remove staples), fresh grass clippings, and plant trimmings. These supply the nitrogen that microbes need to multiply and work quickly.
A general guideline is to aim for roughly two to three parts browns for every one part greens by volume. If your pile smells like ammonia, it has too many greens. If decomposition seems to have stalled entirely and the pile feels dry, it likely needs more greens and moisture.
Foods That Should Never Enter Your Pile
Meat, fish, bones, dairy, oily foods, and pet waste do not belong in a home compost bin. These materials can attract rodents and other wildlife, introduce harmful pathogens, and create persistent, unpleasant odors. Cooked foods and heavily seasoned scraps are also best left out. Sticking to raw plant-based kitchen waste keeps the process safe and neighbor-friendly.
Never add meat, fish, bones, dairy products, oily or greasy foods, pet waste, or diseased plant material. These items either attract pests, introduce pathogens, or inhibit the microbial process. Cooked foods and heavily seasoned scraps should also stay out.
Setting Up Your Compost System
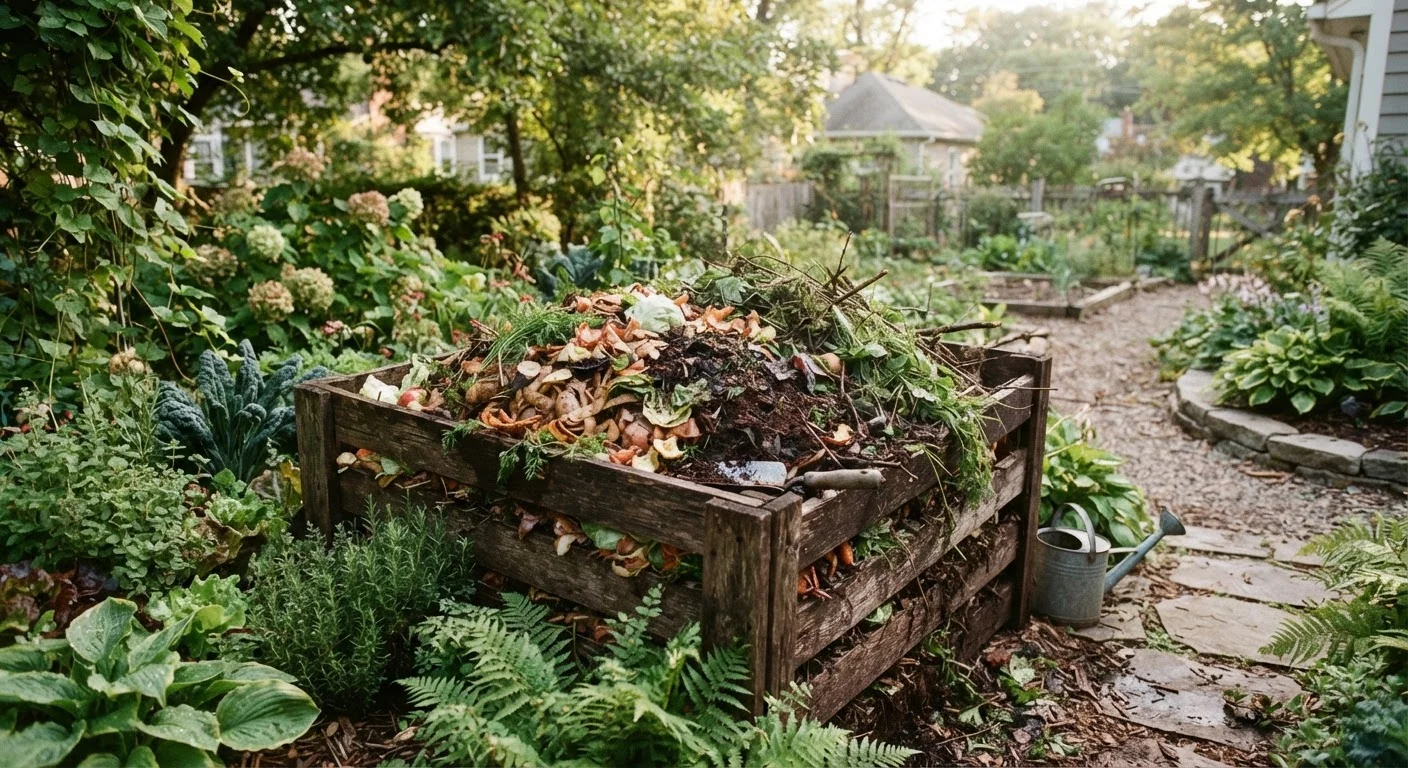
Before adding a single apple core, decide on your setup. Your options range from a simple open pile in a corner of the yard to a purchased tumbler bin or a DIY three-bin system for high-volume households.
Compost bin or tumbler
Contains the pile, manages moisture, and deters pests - choose based on available space and volume of material.
Pitchfork or compost turning tool
Used to aerate the pile and mix materials to accelerate decomposition.
Kitchen scrap collector (countertop bin)
A small lidded container for collecting food scraps indoors before transferring them to the outdoor pile.
Garden hose or watering can
Used to add moisture to a pile that has dried out too much between rain events.
Compost thermometer
Measures internal pile temperature to confirm active decomposition and identify when turning is needed.
Compost screen or hardware cloth (half-inch mesh)
Sifts finished compost to separate ready material from larger, still-decomposing chunks.
Choose a spot with partial shade - full sun dries out the pile too quickly - and good drainage so excess moisture can escape. The bin or pile should be accessible enough that you'll actually use it year-round, not just when the weather is perfect.
Good compost integrates well with other low-maintenance garden strategies. If you're also exploring mulching, our guide on how mulch works in the garden covers how these two soil-improvement approaches complement each other.
Choose and position your bin
Select a container or designate a corner of your yard at least 3 feet wide by 3 feet deep. Place it directly on soil - not concrete - so earthworms can enter and drainage can occur naturally. Partial shade is ideal.
Lay a base layer of coarse browns
Start with 4-6 inches of coarse material like wood chips, straw, or torn cardboard on the bottom of the bin. This base layer promotes drainage and creates air pockets that help beneficial aerobic bacteria thrive from day one.
Alternate greens and browns as you add material
Each time you add a batch of kitchen scraps or fresh clippings (greens), cover it with a roughly equal or slightly greater volume of dry browns. This layering maintains the carbon-to-nitrogen balance and prevents compaction and odor.
Maintain the right moisture level
Squeeze a handful of compost material - it should feel damp but not drip water. If it's bone dry, add water with a hose or watering can and mix it in. If it's soggy, add dry browns and turn the pile to promote evaporation.
Turn the pile regularly
Use a pitchfork or turning tool to aerate the pile every one to two weeks. Move material from the outer edges into the center, where temperatures are highest. Regular turning can cut decomposition time roughly in half compared to a pile left undisturbed.
Harvest and use finished compost
Finished compost is dark, crumbly, and smells like fresh earth - not like the original scraps. It typically takes two to six months depending on management effort. Harvest it from the bottom of the pile and apply 1-2 inches to garden beds, mix into potting soil, or work it into the top few inches of lawn soil in spring or fall.
Troubleshooting Common Compost Problems
Even well-intentioned piles run into issues. Here are the most common and how to address them:
- Bad odor (rotten egg smell)
- Usually caused by anaerobic conditions - the pile is too wet and compacted. Turn it thoroughly and mix in dry browns like shredded cardboard or dry leaves to restore airflow.
- Pile isn't decomposing
- Check moisture first - the pile should feel like a wrung-out sponge. If it's dry, add water and greens. If it's already moist, the pile may simply need turning to reintroduce oxygen.
- Pest activity
- Rats and raccoons are attracted to food scraps near the surface. Always bury fresh kitchen scraps under a layer of browns, and use a bin with a secure lid if pests are a recurring problem in your area.
- Pile attracts fruit flies
- Fruit flies are harmless to the process but annoying. Cover fresh fruit scraps immediately with a few inches of soil or dry browns after each addition.
Managing a compost bin is one of many small, ongoing home maintenance habits that compound over time. For a broader view of keeping your property in good shape, the complete home maintenance overview is a useful companion resource.