

Key Takeaways
- You have the legal right to keep your phone number when switching carriers, known as number porting.
- Gather your account number and PIN from your current carrier before initiating the switch.
- Do not cancel your old service first - the new carrier handles the transfer on your behalf.
- The porting process typically completes within a few hours, though it can take up to 24 hours.
- An unlocked phone is required to move to a new carrier's SIM or eSIM profile.
What you will need
What Number Porting Actually Means
Number porting - formally called Local Number Portability - is your right under federal law to transfer your existing phone number to a new wireless carrier. The FCC established this right to prevent carriers from holding your phone number hostage and to promote competition in the wireless market. When you port a number, the new carrier communicates directly with the old one through a regulated process; you do not need to act as an intermediary.
The process applies to mobile numbers, and in many cases to landline numbers being ported to a mobile account. It does not apply if you are simply moving to a new geographic area and want a different area code - porting preserves your existing number exactly as it is.
If you're also navigating a home internet provider change at the same time, the process differs somewhat - see our walkthrough on switching internet providers without the headache for comparison.
What you will need
What You'll Need Before You Start
Having the right information ready before you begin prevents the most common porting delays. The single most important item is your current carrier's account number and account PIN - not your phone's lock screen PIN. These are separate credentials that verify account ownership to the new carrier.
Account Number and PIN
Required by the new carrier to verify your identity and initiate the number port from your old account.
Unlocked Compatible Handset
Your phone must be unlocked and compatible with the new carrier's network bands to accept a new SIM or eSIM.
New Physical SIM Card
A SIM card from the new carrier connects your device to their network; often mailed in advance or available in-store.
eSIM-Compatible Device
Allows you to download a new carrier profile digitally, skipping the physical SIM step entirely.
Your phone also needs to be carrier-unlocked. A device that is still under a payment installment plan may be locked until the balance is paid in full. Confirm unlock eligibility with your current carrier before proceeding.
Check for Early Termination Fees First
If you're still under a device payment plan or a contract, switching carriers may trigger an early termination fee or leave you responsible for the remaining device balance. Review your current agreement or contact your carrier before initiating the port. Our article on questions to ask before signing a carrier contract covers what to watch for.
Step-by-Step: How to Port Your Number
Don't Cancel Your Old Service Early
Canceling your current plan before the port is complete will likely cause you to lose your phone number permanently. Keep your existing account active and in good standing until the new carrier confirms the transfer is finished. Your old account will be closed automatically once porting succeeds.
Confirm your phone is unlocked
A locked phone is tied to a specific carrier and cannot accept another carrier's SIM. Contact your current carrier to confirm your device's unlock status. Most carriers are required to unlock a device once it is fully paid off and any contractual obligations are met. You can also dial *#06# to find your IMEI number, then use your carrier's unlock-check tool or a third-party IMEI checker to verify status.
Gather your porting information
Log in to your current carrier's app or website and locate your account number and your account PIN (sometimes labeled a "transfer PIN" or "number transfer PIN"). Some carriers require you to generate a one-time transfer PIN specifically for porting. Have the account holder's full name and billing address ready as well - the new carrier will need these details to match records.
Choose and set up your new plan
Select a plan with your new carrier and complete the sign-up process. When prompted, choose the option to bring your own number rather than getting a new one. Before committing, review the plan details carefully - our guide on reading a wireless plan before you commit explains what to look for in the fine print, including data caps and deprioritization clauses. If unfamiliar terminology appears during sign-up, our carrier jargon decoder can help clarify it.
Submit the number port request
During activation, you will be asked to enter your current carrier's account number, PIN, and billing details. The new carrier submits a porting request to your old carrier on your behalf. This process - governed by FCC regulations - typically completes within a few hours but can take up to one full business day in some cases. You do not need to contact your old carrier separately.
Insert the new SIM or activate eSIM
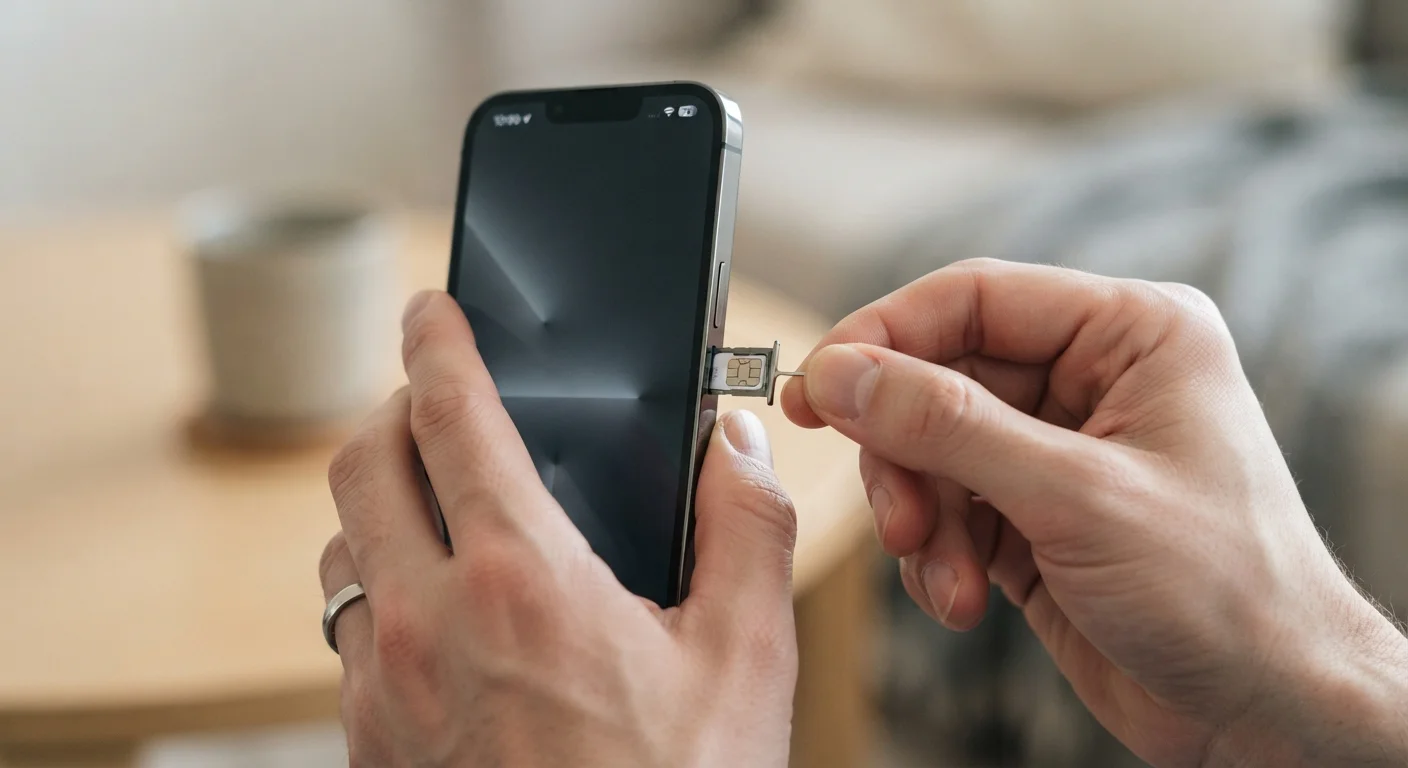
If your new carrier sent a physical SIM card, power off your phone, swap out the existing SIM, and power back on. If you're using eSIM, follow the carrier's digital activation instructions - typically a QR code scan or an in-app flow. Once your device connects to the new network, make a test call and send a text to confirm the port succeeded and your number carried over correctly.
Verify and close your old account
Once you confirm your number is active on the new carrier, your old account should close automatically. Check your email for a confirmation from the old carrier. If you do not receive one within 48 hours, contact their customer service to confirm account closure and verify that no additional charges are pending. Review your final bill carefully for any prorated charges or equipment fees.
eSIM Makes Switching Even Faster
If your phone supports eSIM - an embedded digital SIM - you may be able to activate your new carrier's plan entirely online without waiting for a physical SIM card to arrive. Many carriers now support instant eSIM provisioning. Check with your new carrier whether your device qualifies.
After the Switch: What to Expect
Most ports complete the same day, often within two to four hours. During the transition window, you may briefly experience a period where calls or texts don't connect - this is normal and temporary. Avoid making critical calls during this window if possible.
Once the port is complete, test your voicemail, verify that contacts can reach you, and update any two-factor authentication accounts that send codes to your phone number. Some services link security codes to your number, so it's worth confirming those still work correctly after the switch.
If your travel plans involve international use, it's also worth understanding how your new carrier handles roaming. Our guide on international roaming, SIM cards, and eSIM explains your options before your next trip.